How to Diagnose and Repair Power Amplifiers: A Comprehensive Tutorial


Power amplifiers play a crucial role in audio systems, delivering the necessary power to drive speakers and produce high-quality sound. However, like any electronic device, they can encounter issues over time. Diagnosing and repairing power amplifiers requires a methodical approach. In this tutorial, we'll guide you through the process to ensure your amplifier is back in top condition.
Understanding the Basics of Power Amplifiers
Before diving into repairs, it's essential to understand how power amplifiers work. They take a low-level audio signal and increase its power to drive a loudspeaker. Common components include transistors, capacitors, and resistors, each playing a vital role in sound amplification.
Knowing the basic components and their functions can help you identify potential issues more easily. Familiarize yourself with the amplifier's schematic diagram, as it provides a map of the circuit's connections and components.
Common Issues with Power Amplifiers
No Sound Output
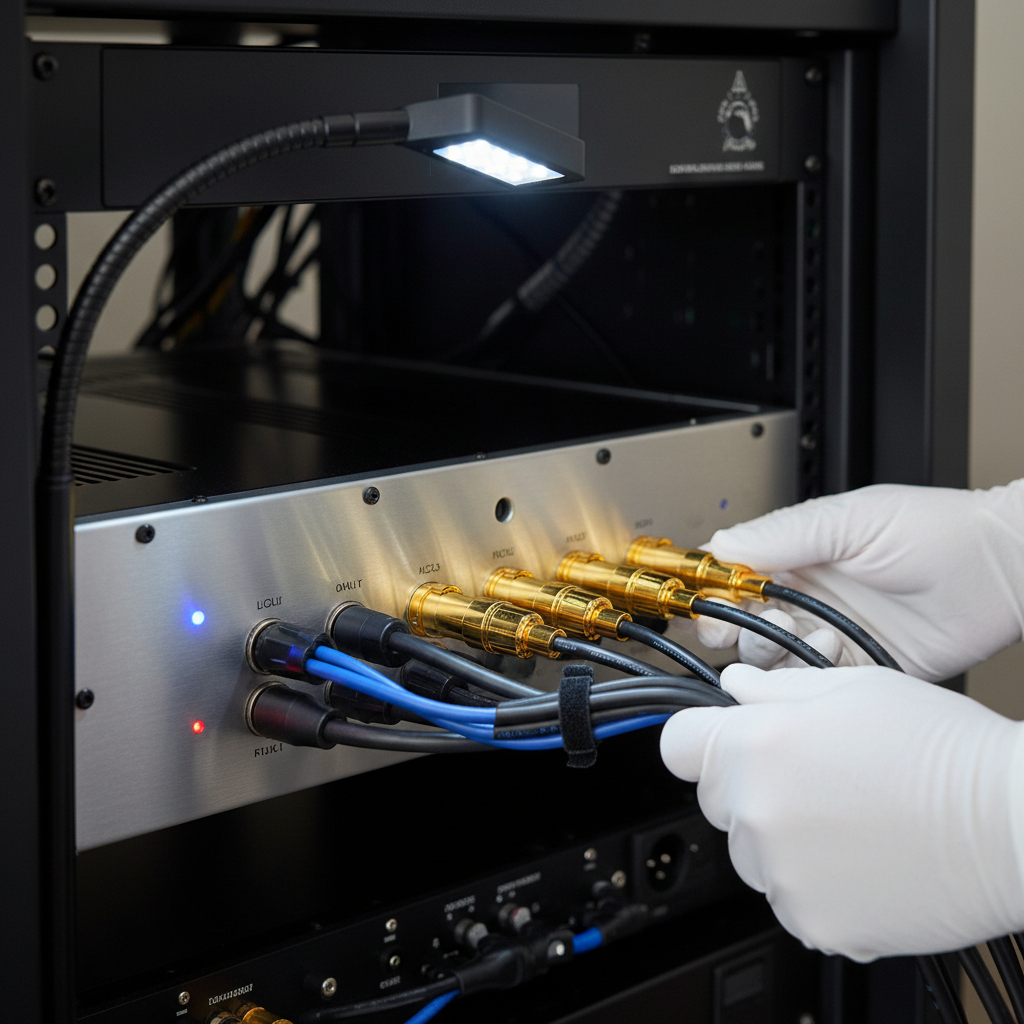
If your amplifier is not producing sound, check the power supply first. Ensure it's receiving power and that the fuse is intact. Examine the input connections and verify that the source device is working correctly. A defective speaker or cable can also be the culprit.
Distorted Sound
Distortion often results from a faulty transistor or capacitor. Inspect these components for signs of damage or wear. Replacing them with new parts can often resolve distortion issues. Additionally, ensure that the amplifier is not being overdriven, as this can cause distortion too.
Step-by-Step Diagnosis and Repair
Safety First
Before opening the amplifier, disconnect it from the power source. This prevents electric shock and damage to the device. Use insulated tools and wear protective gear to enhance safety while working on electronic components.
Visual Inspection
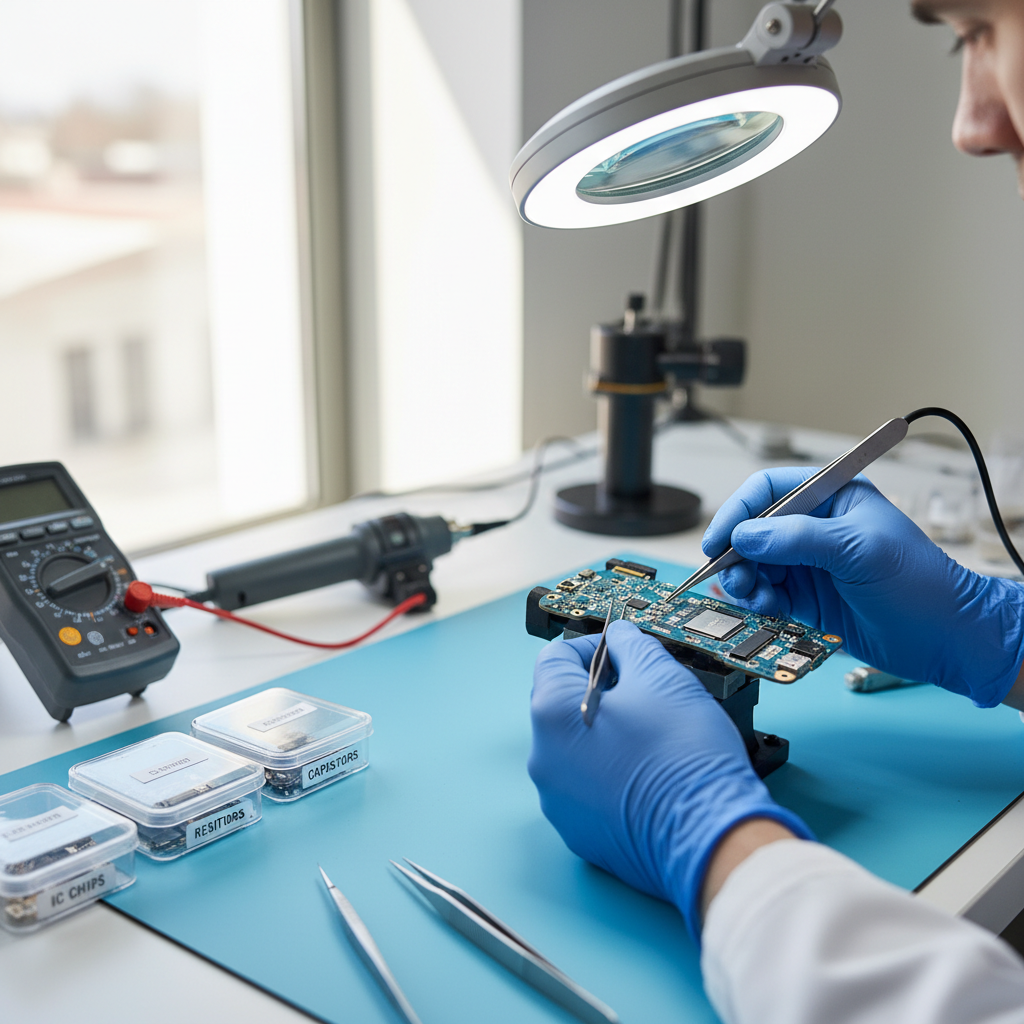
Perform a visual inspection to identify obvious issues such as burnt components, loose connections, or damaged wires. A magnifying glass can help spot tiny cracks or defects on the circuit board.
- Check for burnt or swollen components.
- Inspect solder joints for cracks.
- Ensure all connectors are firmly attached.
Using a Multimeter
A multimeter is an essential tool for diagnosing electrical issues. Use it to measure voltage, current, and resistance within the circuit. This can help pinpoint faulty components, such as transistors or capacitors, that need replacement.
Follow these steps when using a multimeter:
- Set the multimeter to the correct measurement type.
- Test components individually for continuity and resistance.
- Record and compare readings against specified values in the service manual.
Final Testing and Reassembly
Once repairs are complete, reassemble the amplifier and ensure all connections are secure. Plug it back in and test it with a reliable audio source. Check for clear sound output and ensure all controls function correctly. If issues persist, consider consulting a professional technician for further assistance.
By following this comprehensive guide, you can effectively diagnose and repair common issues in power amplifiers, extending their lifespan and maintaining sound quality.